Step one: assess the site
Good paving starts with looking at the site. What is the existing surface doing, where does water go, what traffic will the finished surface carry, and how will equipment reach the work. An estimate produced without that information is a number, not a plan.
Step two: demolition and removal
Where there is an existing surface that cannot stay, it is removed or milled off. Milling grinds the surface away to a controlled depth, which matters when the finished height has to stay the same. Removal takes it out entirely so the section can be rebuilt.
Step three: grading, which is where the job is won or lost
Grading establishes the shape of the ground and therefore where water goes. Asphalt is not waterproof forever and it is not a structure on its own. Water that is allowed to sit or to get into the base is what destroys pavement, so slope and drainage are set here.
In Central Florida this stage also means dealing with sand. It works well cut to grade and compacted with proper moisture, and it washes out fast where water concentrates.
Step four: base construction
The base carries the load. Limerock or recycled base material is placed in lifts and compacted to a specified density. The asphalt on top is a wearing surface, not the structure, and no thickness of asphalt makes up for a base that was skipped.
Step five: placing the asphalt
Hot mix asphalt arrives at temperature and has a working window. It goes through the paver in a specified lift thickness and has to be placed and rolled before it cools out of that window. This is why paving crews move the way they do and why weather can move a schedule.
Step six: compaction
Rolling compacts the mat to density, which is what gives the surface its strength and its resistance to water. Under-compacted asphalt looks finished and fails early. It happens while the mix is still hot, which is why the crew is not standing around.
Step seven: edges, tie-ins and details
Edges, aprons, curb returns and joints against existing pavement or concrete are where water tries to get in and where workmanship shows. Seams get sealed and transitions get worked so they are flush.
Step eight: curing and getting back on it
Asphalt is usable soon after it cools, but it keeps hardening for weeks. In Florida heat a new surface stays soft longer than people expect. Sharp turning, trailer jacks, dumpster wheels and narrow-point loads will leave marks on a new surface, so your contractor should give you a specific timeline for your job rather than a generic rule.
What to look for in a paving estimate
- Asphalt thickness stated, with a reason for that thickness
- Base work described, not assumed
- Drainage and grade addressed explicitly
- Removal and disposal accounted for
- Scope written down, so you know what you are comparing
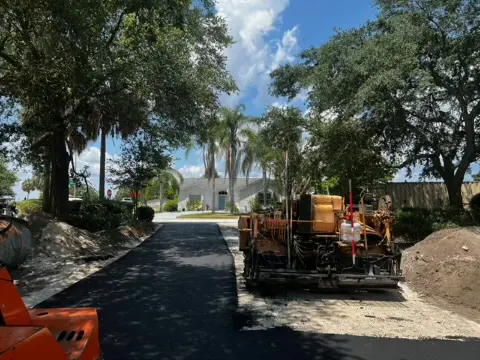
Paver laying hot mix asphalt on a drive with crew alongside
paving
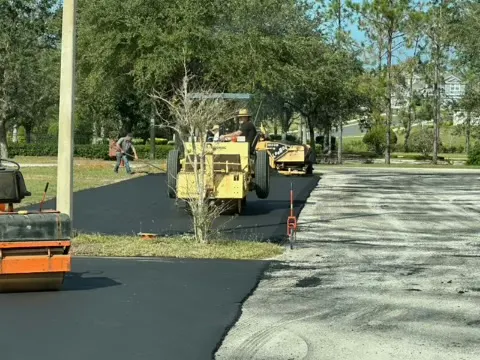
Roller and paver working a wide paving run
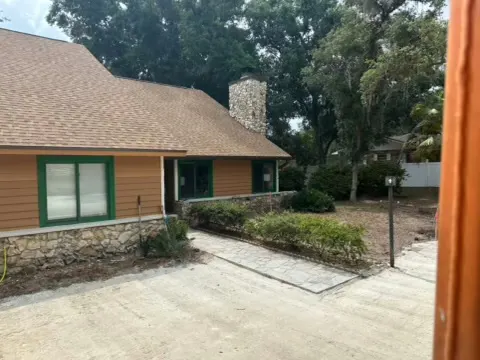
Graded and compacted drive alongside a building, ready for paving